")


howit website imagery tips can make or break your design.
The right visuals elevate your brand, build trust instantly, and make your Showit template look fully custom. The wrong imagery can make even a beautifully designed site feel inconsistent or unfinished.
In this guide, you’ll learn practical Showit website imagery tips to help you curate, prep, and upload images the right way — without overcomplicating the process.
Let’s get into it.
WHY IMAGERY MATTERS ON YOUR SHOWIT WEBSITE
Your images do three important things:
- Set the emotional tone of your brand
- Build credibility within seconds
- Support (not compete with) your copy
If your visuals feel random, overly dark, pixelated, or inconsistent, your website will feel that way too — even if your layout is solid.
Your Showit template was designed to let imagery shine. So let’s use that intentionally.
STEP 1: DEFINE YOUR VISUAL DIRECTION
Before you upload a single image into Showit, pause.
Ask yourself:
- Is my brand bright and airy or bold and dramatic?
- Minimal or layered?
- Editorial or lifestyle?
- Structured or organic?
Your imagery should match your brand tone — not just your favorite Pinterest board.
If you’ve already completed your brand prep work, reference that here.
Read My Post on How to Use Consistency to Build Brand Trust: Proven Strategies for Long-Term Success
Clarity first. Upload second.
STEP 2: CURATE YOUR IMAGES BEFORE YOU TOUCH YOUR TEMPLATE
Do not design as you gather.
Create one master folder and collect:
- Brand photos
- Lifestyle imagery
- Detail shots
- Background textures
- Stock images (if needed)
Seeing everything together allows you to check for consistency in lighting, editing style, and mood before placing anything inside your Showit website.
This prevents:
- Random uploads
- Mixed editing styles
- “I’ll fix it later” syndrome
STEP 3: PREP YOUR IMAGES FOR WEB
If something looks blurry on your Showit site, it’s usually a file issue — not a template issue.
Keep this simple:
- Resize large images (around 2000px wide is typically plenty)
- Compress images so your site loads quickly
- Use JPG for photography
- Use PNG for images that require transparency
Your goal: sharp images that load fast.
A beautiful website that loads slowly is not a win.
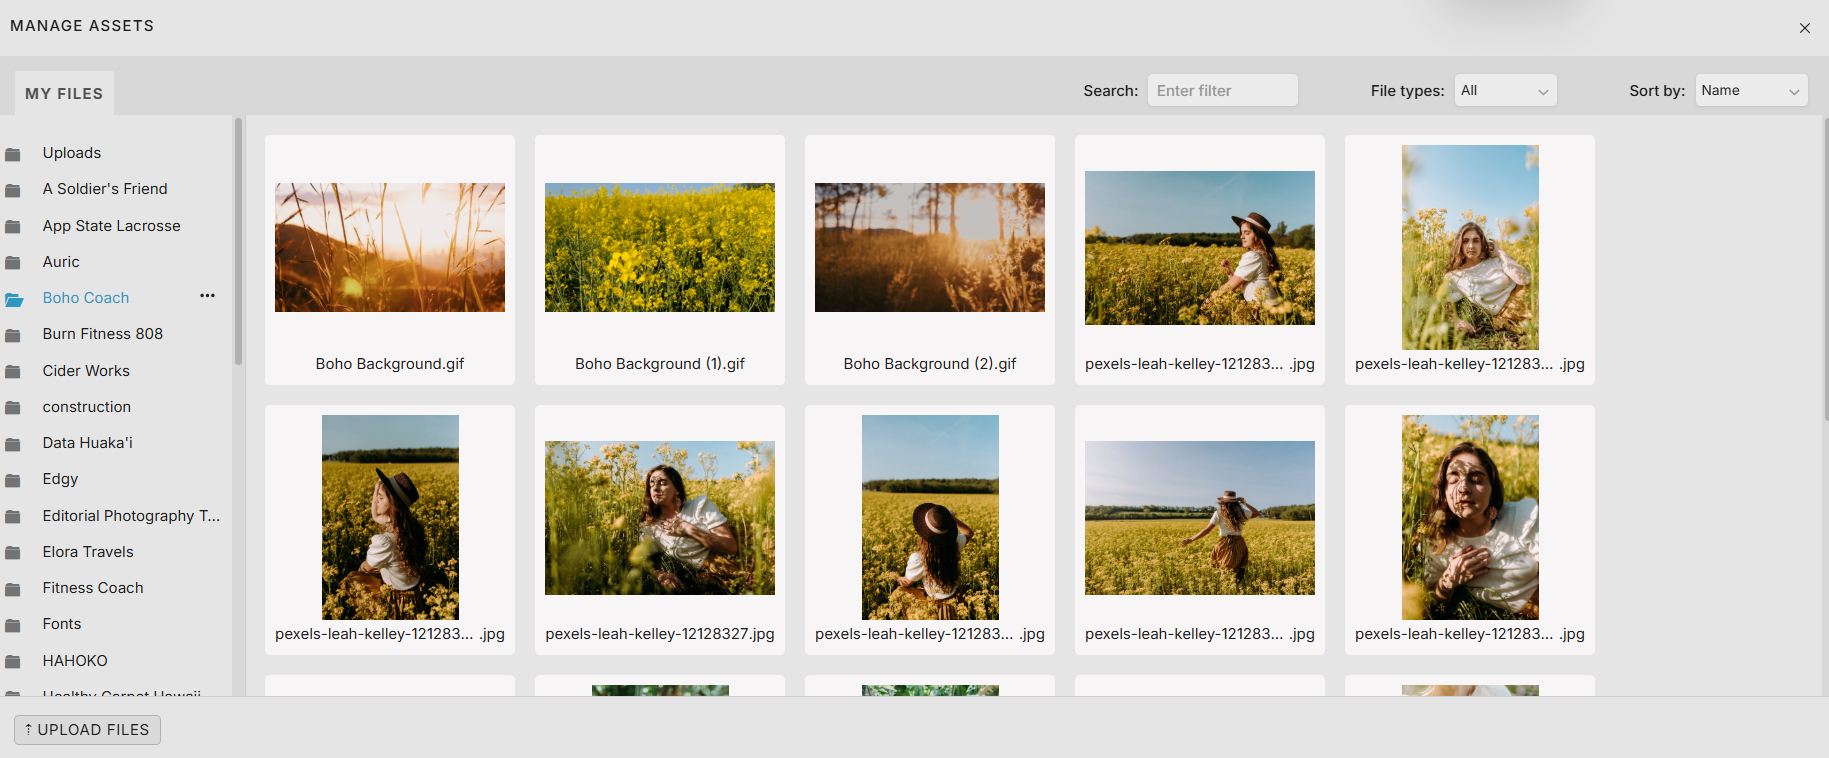
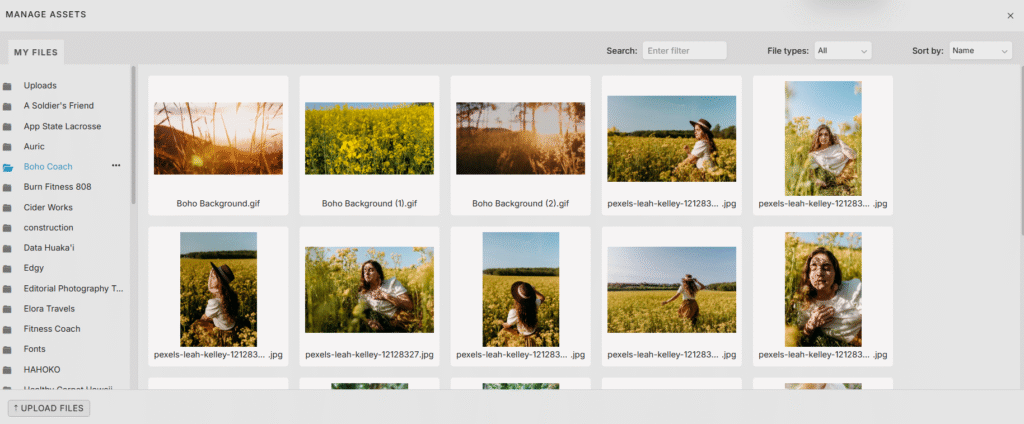
STEP 4: HOW TO UPLOAD IMAGES IN SHOWIT
Uploading images into your Showit template is straightforward.
To replace an image:
- Click the image directly on your canvas
- Open the Image Settings panel
- Click “Choose Image”
- Upload or select your file
That’s it.
After placing the image, always double-check the crop.
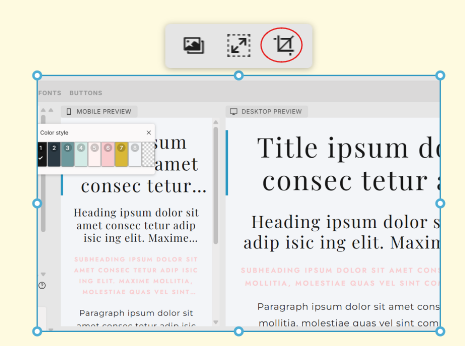
What looks perfect in your folder may crop differently inside the design.
STEP 5: CHECK CROPPING + ALIGNMENT
Templates are designed with intentional spacing and visual balance.
When replacing images:
- Keep focal points centered when possible
- Avoid cutting off heads or key details
- Maintain consistent spacing between sections
Zoom out and review the full page regularly. One awkward crop can throw off an entire section.
STEP 6: PRIORITIZE CONSISTENCY
Consistency builds professionalism.
Watch for:
- Mixed editing styles (bright + moody rarely works together)
- Drastically different color temperatures
- Clashing tones that compete with your brand palette
If something feels chaotic, simplify.
Less variety. More cohesion.
STEP 7: LET WHITE SPACE WORK
Not every section of your Showit website needs an image.
White space:
- Makes your design feel high-end
- Improves readability
- Creates visual rhythm
Resist the urge to fill every empty space. Space is strategic.
FINAL REVIEW BEFORE YOU LAUNCH
Before publishing your Showit website, scroll through and ask:
- Do all images feel cohesive?
- Does the mood match my brand?
- Is anything blurry or stretched?
- Do the visuals support my copy?
If yes, you’re in a strong place.
Great imagery doesn’t overpower your design. It supports it.
––––––––––––––––––
IMAGERY QUICK CHECKLIST
If you skimmed, here’s what matters most:
Before Uploading:
- Define your visual style
- Gather all images into one folder
- Check for consistent editing
- Resize large files
- Compress for web
- Use JPG for photos, PNG for transparency
Inside Showit:
- Replace images using the Image Settings panel
- Check desktop and mobile cropping
- Keep focal points centered
- Maintain consistent spacing
Before Launch:
- Does everything feel cohesive?
- Is anything pixelated?
- Does the imagery align with my brand tone?
Clean imagery + intentional placement = a Showit template that feels fully custom.
")
")

View comments
+ Leave a comment